
 how-to
Preventing Variegation Loss in Alocasia: 2026 Guide
Table of Contents
- What You'll Need to Prevent Variegation Loss
- Diagnosing Variegation Loss: Genetic vs Environmental Reversion
- The Best Light for Variegated Alocasia
- Fertiliser Requirements for Variegated Alocasia
- Alocasia Variegation Reversion: Why It Happens
- Pruning Reverted Growth: Step-by-Step
- Post-Pruning Recovery and Seasonal Care
- Frequently Asked Questions
Last Updated: September 29, 2026
What You'll Need to Prevent Variegation Loss
Preventing variegation loss in alocasia starts with understanding what you're actually dealing with. We've watched collectors panic over a single green leaf, only to discover the plant was simply responding to its environment. Variegation loss in alocasia is rarely permanent, and the fix is usually simpler than you'd expect.
Here's what you'll need to get this right:
- A light meter or a phone app that reads lux levels
- Balanced liquid fertiliser, diluted to half strength
- Sharp, clean pruning shears
- A moisture meter or your finger
- A humidity gauge
- Patience, because this takes weeks, not days
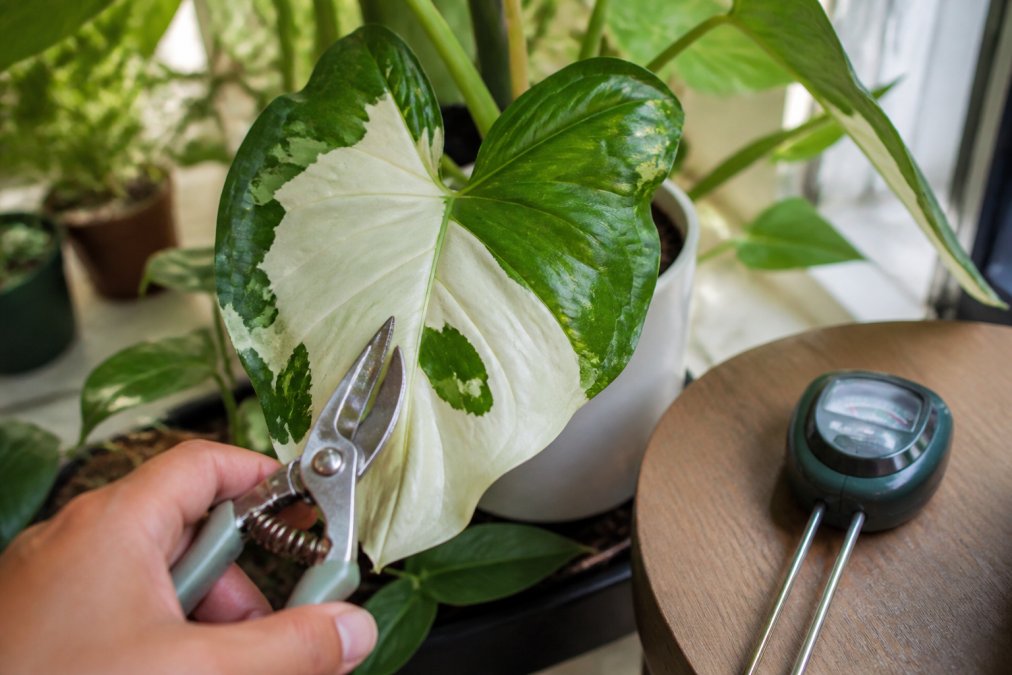
The tools matter less than the diagnosis.
Diagnosing Variegation Loss: Genetic vs Environmental Reversion
Most guides treat reversion as a single problem. It isn't. There are two distinct mechanisms, and they need opposite responses. Getting this wrong is the most common reason growers either waste months babying a permanently green plant or, worse, cull a plant that was only stressed.
The three-leaf diagnostic
Don't judge from one leaf. Track the newest three leaves in sequence and read the pattern:
- All three fully green from unfurling: leans genetic. The meristem is producing green-only tissue.
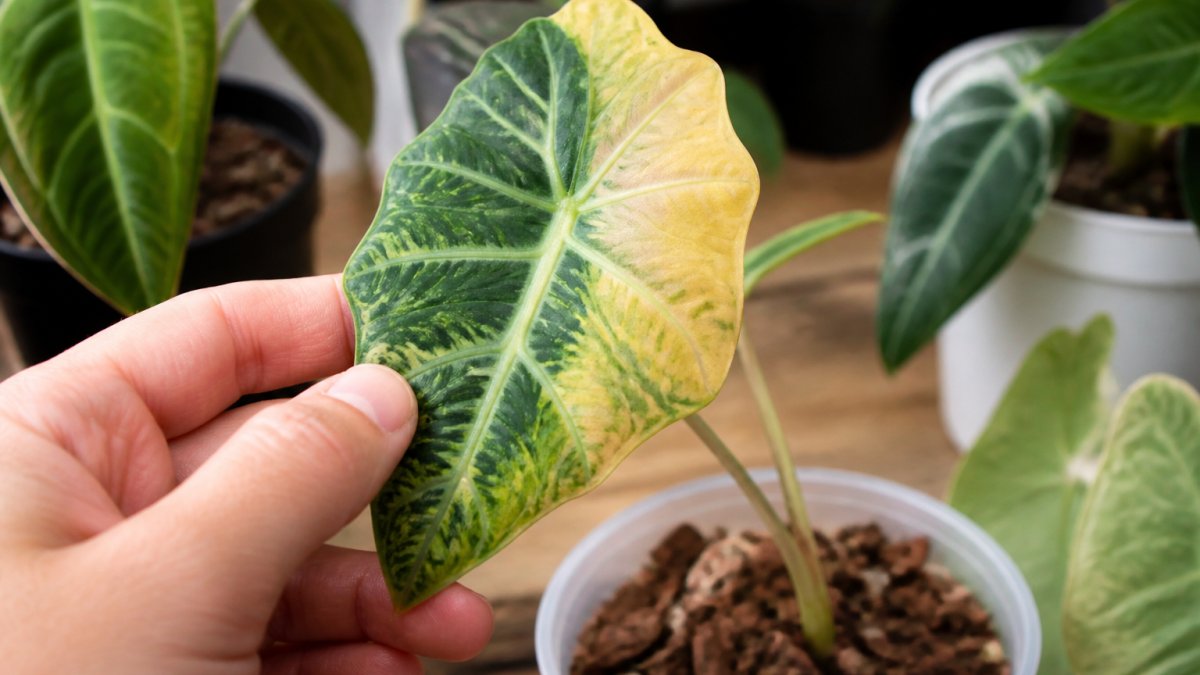
- Newest leaf paler than the last, with faint sectoring: leans environmental. The variegation is fading, not gone.
- Alternating, one green, one variegated, one green: almost always environmental. A stable genetic reversion doesn't flicker.
- Green leaf with a thin pale margin that fades over 2-3 weeks: environmental. The tissue was laid down variegated, then the plant withdrew support.
Check the meristem, not the leaf
The single most reliable read is the axillary bud and the newest unfurling leaf's base. If the bud itself shows pale striping or sectoring, the variegation is still in the growing tissue, it's environmental, and it's recoverable. If the bud is solid green, any growth from it will be green. That's genetic.
The two-week reversal test
This is the practical way to separate the two when you're unsure:
- Correct light, humidity, and feeding for 14 days. No pruning.
- Watch the next leaf to unfurl.
- If it emerges with any pale sectoring, even faint, the variegation is present and the problem was environmental.
- If it emerges fully green with no pale tissue at all, treat it as genetic until proven otherwise.
Why the distinction matters for what you do next
- Environmental reversion: fix conditions, wait, do not prune. The leaf is still feeding the plant and the meristem is still variegated.
- Genetic reversion: pruning the reverted leaf can redirect energy to a variegated node if one exists elsewhere on the stem. If the whole meristem has reverted, pruning won't restore colour, you're managing a green plant.
A common pattern is a plant that reverts on the main growth point but still holds a variegated axillary bud lower down. That's the case where pruning genuinely helps, and it's covered in the pruning section below.
The Best Light for Variegated Alocasia
The best light for variegated Alocasia is bright, filtered light with no harsh midday sun. Aim for a spot that gives your plant consistent brightness for most of the day.
A practical setup:
- Place the plant 1-2 metres from an east or north-facing window
- Use a sheer curtain to filter direct sun
- Rotate the pot a quarter turn each week for even growth
- Watch for phototropism, where leaves lean hard toward the light
Fertiliser Requirements for Variegated Alocasia
Fertiliser requirements for variegated Alocasia are lighter than for solid green plants. The reason is simple: white tissue can't use the nutrients, so overfeeding pushes the plant to produce more green.
- Sudden bursts of plain green leaves
- Soft, floppy new growth
- Yellowing lower leaves despite feeding
Alocasia Variegation Reversion: Why It Happens
Alocasia variegation reversion happens when the plant's growing point stops producing cells with the mutation that creates white tissue. This is a natural stress response, not a sign you've failed.
Common triggers include:
- A drop in light intensity
- Low humidity levels
- Root stress from soggy substrate
- Cold drafts or temperature swings
- Repotting shock
Pruning Reverted Growth: Step-by-Step
Pruning reverted growth redirects the plant's energy toward variegated nodes. Do it at the right time and you'll often see colour return within a few leaves.
Total time: 15 minutes Difficulty: Beginner
Follow these steps:
- Wait for two weeks of corrected conditions. Light, humidity, and feeding should all be dialled in first.
- Identify the reverted leaf. It'll be fully green with no pale sectors.
- Find the node above it. The node is the bump on the stem where the leaf attaches. Cutting above a node leaves an axillary bud that can push new growth.
- Sterilise your shears with rubbing alcohol.
- Cut at a 45-degree angle, about 1cm above the node.
- Seal nothing. Let the cut callous over naturally in dry air.
- Keep the cut dry for 48 hours to avoid rot.
Post-Pruning Recovery and Seasonal Care
Cutting a reverted leaf is a wound. The plant has to seal it, redirect resources, and push a new growth point, all while running on fewer leaves than it had before. Most growers lose momentum here because they treat the cut as the finish line. It's the start of a four-to-six week recovery window.
The 48-hour window
- Keep the cut dry. No misting, no overhead watering, no humidity spikes directed at the wound. A wet cut is an open door for bacterial soft rot, which moves fast in aroid stems.
- Don't seal it. A clean 45-degree cut callouses over on its own in normal indoor air. Wound sealants trap moisture and are unnecessary here.
- Don't feed. The plant isn't taking up nutrients efficiently while it's redirecting energy. Feeding now pushes soft growth the plant can't support.
- Hold humidity steady, not high. 60-70% is the target. Jumping to 80%+ to "help" the plant actually slows callousing.
Weeks 1-2: stabilise, don't stimulate
This is the shock window. The plant may drop an older leaf, stall, or show no visible change. All normal.
- Water when the top 2cm of substrate is dry, no more, no less. Soggy substrate during recovery is the fastest route to root stress on top of wound stress.
- Keep light consistent. Don't move the plant to a brighter spot to "speed things up", a light change mid-recovery adds a second stressor.
- No fertiliser. No repotting. No rotating into a new position.
Weeks 3-6: the push
New growth from the node typically appears in this window. What you're watching for:
- A small bump at the node swelling before any leaf emerges
- The first leaf often smaller than the one you removed, that's expected, not a problem
- Colour on that first leaf is the real read on whether the meristem is still variegated
Seasonal variegation cycles
Variegation is not constant across the year, and treating a winter fade as reversion is one of the most common misreads.
What to expect season to season:
| Season | Light | Watering | Feeding | Variegation behaviour |
|---|---|---|---|---|
| Spring | Bright, filtered | Weekly | Half-strength, fortnightly | Colour returns as growth resumes |
| Summer | Bright, filtered | Twice weekly | Half-strength, fortnightly | Peak expression; watch for scorch on pale sectors |
| Autumn | Bright, indirect | Weekly | Monthly | Slowing growth; colour may begin to fade |
| Winter | Bright, indirect | Every 10-14 days | None | Fade is normal; don't prune in response |
Long-term stability
Stable variegation over years comes down to two things: provenance and propagation method. Plants grown from corms tend to show more predictable variegation than tissue-cultured lines. When selecting for long-term colour, favour plants with strong sectoral patterns over heavily speckled ones, sectoral variegation holds more reliably across seasons.
Frequently Asked Questions
How to keep Alocasia variegated?
Maintain bright, filtered light and avoid sudden shifts in temperature or humidity. Feed with a balanced fertiliser at half strength every two to four weeks during the growing season. Prune any solid green leaves back to the node so the plant redirects energy to variegated growth. Monitor for stress signs like leaf drop, which can trigger reversion.
Why is my plant losing its variegation?
Loss of variegation usually comes from environmental stress or genetic instability. Low light reduces photosynthetic efficiency in white sectors, while high nitrogen can cause chlorophyll to overproduce in those areas. Check your light intensity, fertiliser schedule, and recent changes in humidity or temperature before assuming the plant has genetically reverted.
Can reverted variegation come back?
Yes, if the reversion is environmental. Correct the light, fertiliser, and humidity, then prune the reverted growth back to a node with variegated tissue. New shoots from that node often show variegation again. If the reversion is genetic, meaning the growing point has mutated to all-green, it will not return and you may need to propagate from a variegated section.
Does light intensity affect Alocasia variegation?
Light intensity directly affects variegation stability. Variegated Alocasia need bright, filtered light, roughly 200 to 400 PPFD, to support the white sectors that lack chlorophyll. Too little light causes the plant to produce more green cells, reducing variegation. Too much direct sun scorches leaves. Aim for consistent, indirect light to keep colour patterns stable.