 how-to
Identifying Pests on Variegated Alocasia Leaves
Table of Contents
- Why Variegated Alocasia Needs Careful Pest Monitoring
- Step-by-Step Inspection: How to Check Your Alocasia for Pests
- Alocasia Spider Mites: Identification and Early Signs
- Thrips on Alocasia: What to Look For
- Scale Insects on Alocasia: Spotting Raised Bumps and Clusters
- Other Common Alocasia Pests: Mealybugs and Aphids
- Pest Damage vs. Natural Variegation: Telling Them Apart
- Alocasia Pest Treatment and Isolation Steps
- Frequently Asked Questions
Last Updated: October 8, 2026
Why Variegated Alocasia Needs Careful Pest Monitoring
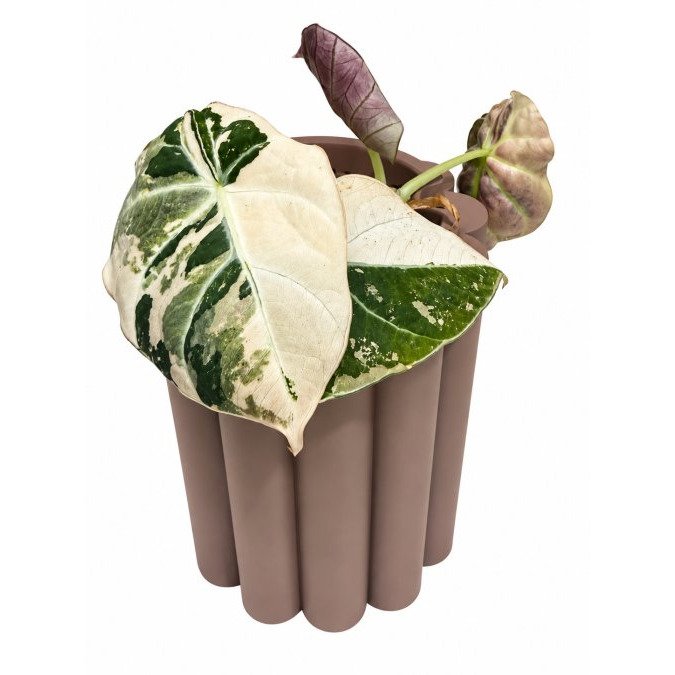
Variegated Alocasia leaves are stunning, but identifying pests on variegated alocasia leaves is tricky because of the visual challenge. The mix of cream, gold, and green patches can hide pest damage or make you see problems that aren't there.
At Obsessed With Aroids, we work with variegated Alocasia collectors every day, and the most common frustration is knowing whether you're looking at natural variegation or actual pest damage. A brown spot might be a scale insect. Or it might just be part of the leaf's natural pattern.
The stakes matter too. Variegated Alocasia are precious. You've invested time and money into getting exactly the right specimen. Missing a pest infestation early means watching your plant decline. But over-treating a healthy plant based on false alarms stresses it unnecessarily.
This guide walks you through how to inspect your variegated Alocasia properly, identify the most common pests that affect them, and spot the difference between pest damage and natural variegation. We'll cover spider mites, thrips, scale insects, mealybugs, and aphids, the five pests that show up most often on Alocasia in Australian homes.
Step-by-Step Inspection: How to Check Your Alocasia for Pests
The best time to catch a pest problem is early, before it spreads. But with variegated leaves, you need a system to avoid missing things or panicking over natural markings.
What You'll Need Before You Start
Grab these items before you start inspecting:
- A bright light source (natural window light or a small torch works well)
- A magnifying glass or jeweller's loupe (10x magnification is ideal)
- A clean cloth or soft brush
- A small container of water and a spray bottle
- Gloves if you prefer them
Having everything ready means you won't get distracted mid-inspection and miss something important.
The Inspection Process
Step 1: Start with new growth. Pests love fresh leaves because the tissue is tender and the plant hasn't built up natural defences yet. Look at the newest unfurling leaves first.
Step 2: Check the leaf undersides systematically. This is where most Alocasia pests hide. Work from the top of the plant downward.
Step 3: Inspect the stem joints and petioles. Pests cluster where the leaf meets the stem. Look closely at the angle where the petiole joins the main stem.
Step 4: Look for sticky residue or webbing. Run your cloth lightly across leaf surfaces. If you feel a sticky film (honeydew), you have sap-feeding pests.
Step 5: Check the soil surface and base of the plant. Some pests hide in the top layer of soil or around the base of the stem. Mealybugs sometimes cluster here.
Step 6: Document what you find. Take photos of any suspicious spots or insects. This helps you track whether a problem is spreading and makes it easier to identify what you're dealing with.
Inspect your plants weekly during warmer months (September to April). During cooler months, every two weeks is usually enough.
Alocasia Spider Mites: Identification and Early Signs
Spider mites are the most common pest on Alocasia in Australian homes. They're tiny, barely visible to the naked eye, but their damage is unmistakable once you know what to look for.
What spider mites look like: You'll rarely see the mites themselves. Instead, look for fine webbing between leaves or on stems. The webbing is delicate, almost like cobweb material.
Early damage signs on variegated leaves: The first sign is usually stippling, tiny pale dots scattered across the leaf surface.
As spider mites feed, the damage spreads. Leaves develop a mottled, dusty appearance. The green parts of the leaf fade. Eventually, heavily infested leaves drop completely.
Where to find them: Spider mites prefer dry conditions. Check the leaf undersides first, especially on new growth. They cluster along the leaf veins. If you see fine webbing, you've found an active infestation.
Why variegated Alocasia are vulnerable: Variegated plants are often slightly weaker growers than solid-green varieties. They're also more stressed by dry indoor air, which spider mites love. If your home has low humidity, spider mites will colonise faster.
Thrips on Alocasia: What to Look For
Thrips are slender, fast-moving insects that feed on plant sap. They leave a distinctive pattern of damage that's easier to spot on variegated leaves than spider mites.
What thrips look like: Thrips are tiny (1-2 mm) and hard to see without magnification. They're pale yellow or brown and move quickly. You're more likely to see the damage they cause than the insects themselves.
Damage patterns on variegated Alocasia: Thrips scrape the leaf surface as they feed. This creates silvery or tan streaks and patches. On variegated leaves, look for streaks that cut across the natural variegation pattern. The damage often appears on new leaves first.
Heavily infested leaves develop a papery, bleached appearance. The leaf surface becomes rough and discoloured. Unlike spider mite damage, thrips damage is usually linear or streaked, not stippled.
Where to find them: Thrips hide inside leaf folds and along the stem. They're active in warm weather. Check new growth carefully, thrips lay eggs inside developing leaves.
Severity assessment: A few thrips won't kill your plant, but they multiply quickly in warm conditions. If you see damage on multiple new leaves, the infestation is already established.
Scale Insects on Alocasia: Spotting Raised Bumps and Clusters
Scale insects are among the hardest pests to spot on variegated Alocasia because they look like part of the leaf itself. They're immobile, which makes them easy to miss during a quick glance.
What scale insects look like: Scales are small, round or oval bumps that stick to the leaf surface or stem. They range from 2-5 mm across. Colours vary: some are brown, others are grey or white. The key identifier is that they don't move.
Where they hide: Scales cluster on the underside of leaves, especially along the midrib and veins. They love the joints where the petiole meets the main stem. On variegated leaves, brown or grey scales can blend into the natural colouration, making them invisible at first glance.
Damage signs: As scales feed, they extract sap from the leaf tissue. The area around each scale yellows or browns. Leaves eventually drop. Heavy infestations cause stunted growth and leaf loss throughout the plant.
Why variegated leaves are deceptive: A scale on a cream or gold variegated patch looks like it's part of the natural pattern. Use your magnifying glass to check every bump and discoloured spot.
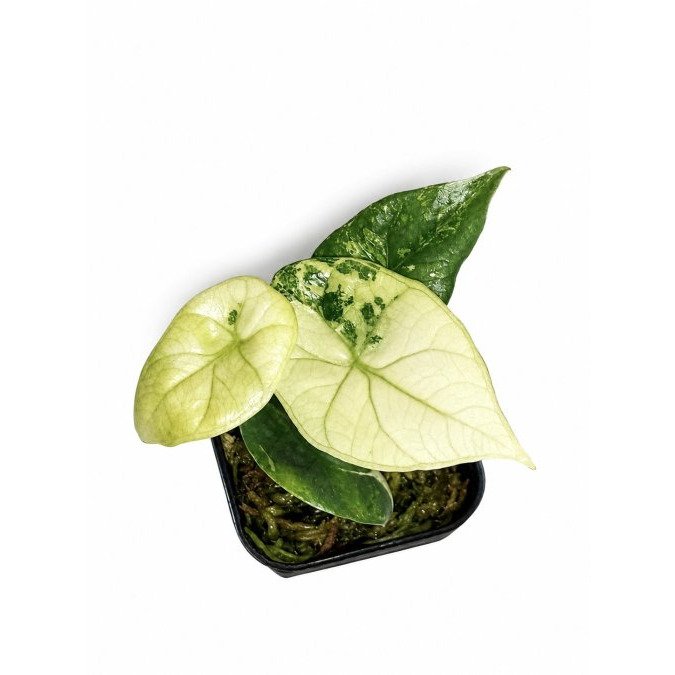
Alocasia Flemingiana Aurea Variegated – Established Plant | Exact Plant 🌿💛 →
Other Common Alocasia Pests: Mealybugs and Aphids
Two other pests show up regularly on Alocasia in Australian collections: mealybugs and aphids. Both are easier to spot than scales or spider mites, but they spread quickly if left untreated.
Mealybugs: These look like tiny cotton balls. They're white, fluffy, and cluster at leaf joints, along the stem, and on new growth. Mealybugs leave sticky honeydew residue on leaves below them.
Mealybugs are slow-moving and easier to catch early. If you spot even one, isolate the plant immediately. They reproduce fast in warm conditions.
Aphids: Aphids are soft-bodied insects, usually green or black, about 2-3 mm long. They cluster on new growth and leaf undersides. Unlike scales, they move readily when disturbed.
Aphids feed on sap and produce honeydew. You'll often notice the sticky residue before you see the insects. Infested new growth becomes distorted and curled. On variegated leaves, the yellowing around feeding sites can look like part of the natural pattern until the damage spreads.
Both pests spread through contact. If one plant has them, check all nearby plants immediately.
Pest Damage vs. Natural Variegation: Telling Them Apart
This is the core challenge with variegated Alocasia. Natural variegation can include cream patches, gold markings, and even some yellowing. Pest damage can mimic these patterns.
Natural variegation is consistent. It follows a pattern that repeats on new leaves. If your plant's variegation has always been yellow-gold with green, new leaves will follow that same pattern.
Pest damage is random and progressive. It appears suddenly, often on new growth first. The pattern doesn't match the plant's established variegation.
Look at the leaf structure. Natural variegation affects the whole leaf or follows the leaf's veins. Pest damage often creates stippling, streaks, or holes. Scales create raised bumps. Thrips create linear damage.
Check for insects or residue. If you find actual pests, honeydew, webbing, or cotton-like clusters, it's pest damage. Natural variegation never comes with these signs.
Observe the plant's overall health. A plant with natural variegation grows steadily. A plant with pest damage shows stunted growth, dropping leaves, or yellowing that spreads beyond the variegated areas.
When in doubt, isolate the plant for a week and monitor closely. If the damage spreads or you spot insects, you're dealing with pests.
Alocasia Pest Treatment and Isolation Steps
Once you've identified a pest problem, act quickly. Isolation and treatment are your best tools for saving your plant and protecting others.
Immediate isolation: Move the infested plant to a separate room, away from other plants. This stops pests from spreading.
Quarantine new plants: Any plant you bring home should be isolated for two weeks before joining your collection. This catches pest problems before they spread.
Treatment options:
-
Insecticidal soap: Spray the entire plant, paying special attention to leaf undersides and stem joints. Repeat every 3-5 days for two weeks. Soap works best on soft-bodied pests like mealybugs and aphids.
-
Neem oil: A natural option that disrupts pest reproduction. Mix according to product directions and spray thoroughly. Repeat weekly for 3-4 weeks. Use neem in the evening to avoid leaf burn.
-
Manual removal: For scale insects and mealybugs, you can remove them by hand. Dip a cloth in rubbing alcohol and wipe each insect off the leaf. This works for light infestations.
-
Horticultural oil: Suffocates spider mites and scales. Spray until the plant drips. Repeat every 7-10 days for three weeks.
Always test any treatment on a single leaf first. Wait 48 hours to check for damage before treating the whole plant.
Monitor during recovery: After treatment, inspect the plant every few days. Look for returning pests or new damage. If you see signs of infestation again, switch to a different treatment method.
Increase humidity: Many Alocasia pests thrive in dry air. After treatment, mist your plant regularly or place it on a humidity tray. This helps the plant recover and makes it less attractive to pests.
Avoid stress: Don't repot or fertilise a recovering plant for at least a month. Keep it in stable light and temperature conditions. Stressed plants attract pests more readily.
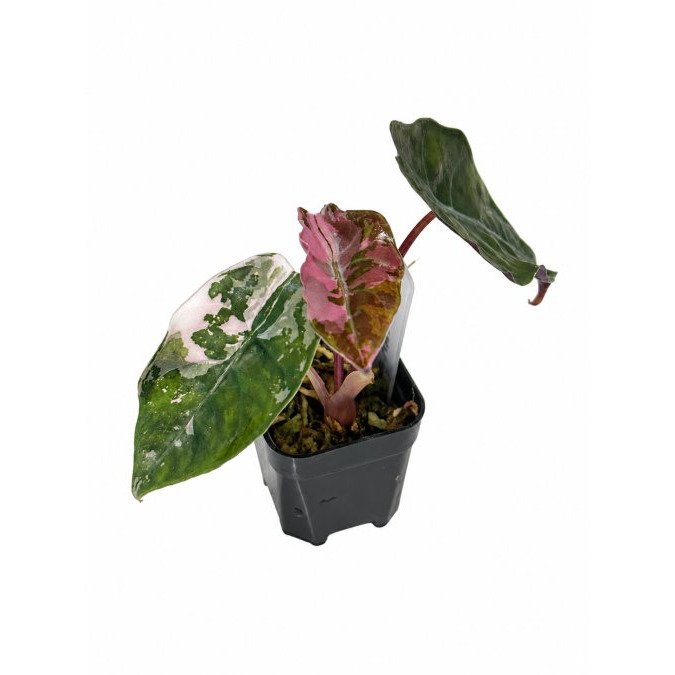
If you're starting your variegated Alocasia collection or adding to it, sourcing from a trusted grower makes a real difference. Our corm-grown variegated Alocasia, like the Alocasia Pseudosanderiana Aurea Variegated and Alocasia Ninja Tricolour Variegated, arrive pest-free and ready to thrive.

Frequently Asked Questions
How can I tell if my variegated Alocasia has spider mites?
Spider mites create fine webbing on leaf undersides and between stems, often accompanied by tiny speckled damage (stippling) on the leaf surface. The damage looks like pinprick discoloration across the leaf, and you may notice webbing in the joints where the petiole meets the stem. Hold a leaf up to light to see the webbing more clearly. Early signs include yellowing leaves and stunted new growth before visible webbing appears.
What's the difference between pest damage and natural variegation on my Alocasia?
Natural variegation appears as distinct patches of lighter colour (yellow, cream, or white) with clean edges, following the leaf's natural patterns. Pest damage shows as speckled discoloration, brown spots, stippling, or irregular yellowing. Variegation is consistent across the leaf and doesn't change between inspections, while pest damage spreads and worsens. If you're unsure, inspect the leaf undersides and stem joints for visible pests or sticky residue (honeydew), which indicates an active infestation.
How should I isolate an Alocasia with suspected pests?
Move the affected plant to a separate room away from your other plants, ideally on a different shelf or surface. Keep it there for at least two weeks while you monitor and treat. Wash your hands after handling the infested plant before touching others. Don't move it back until you've confirmed no new pest signs appear for 7-10 days after your final treatment. This prevents the infestation from spreading to your collection.
Why should I choose a corm-grown variegated Alocasia over tissue culture?
Corm-grown Alocasia develop from a naturally propagated corm, producing stronger, more established root systems and more stable variegation patterns than tissue culture plants. Corm-grown plants are typically more resilient to pests and stress, making them better suited to collector environments. They also reflect the true genetics of the parent plant, so variegation is more reliable. At Obsessed With Aroids, our corm-grown specimens arrive rooted and established, ready to thrive in your collection.